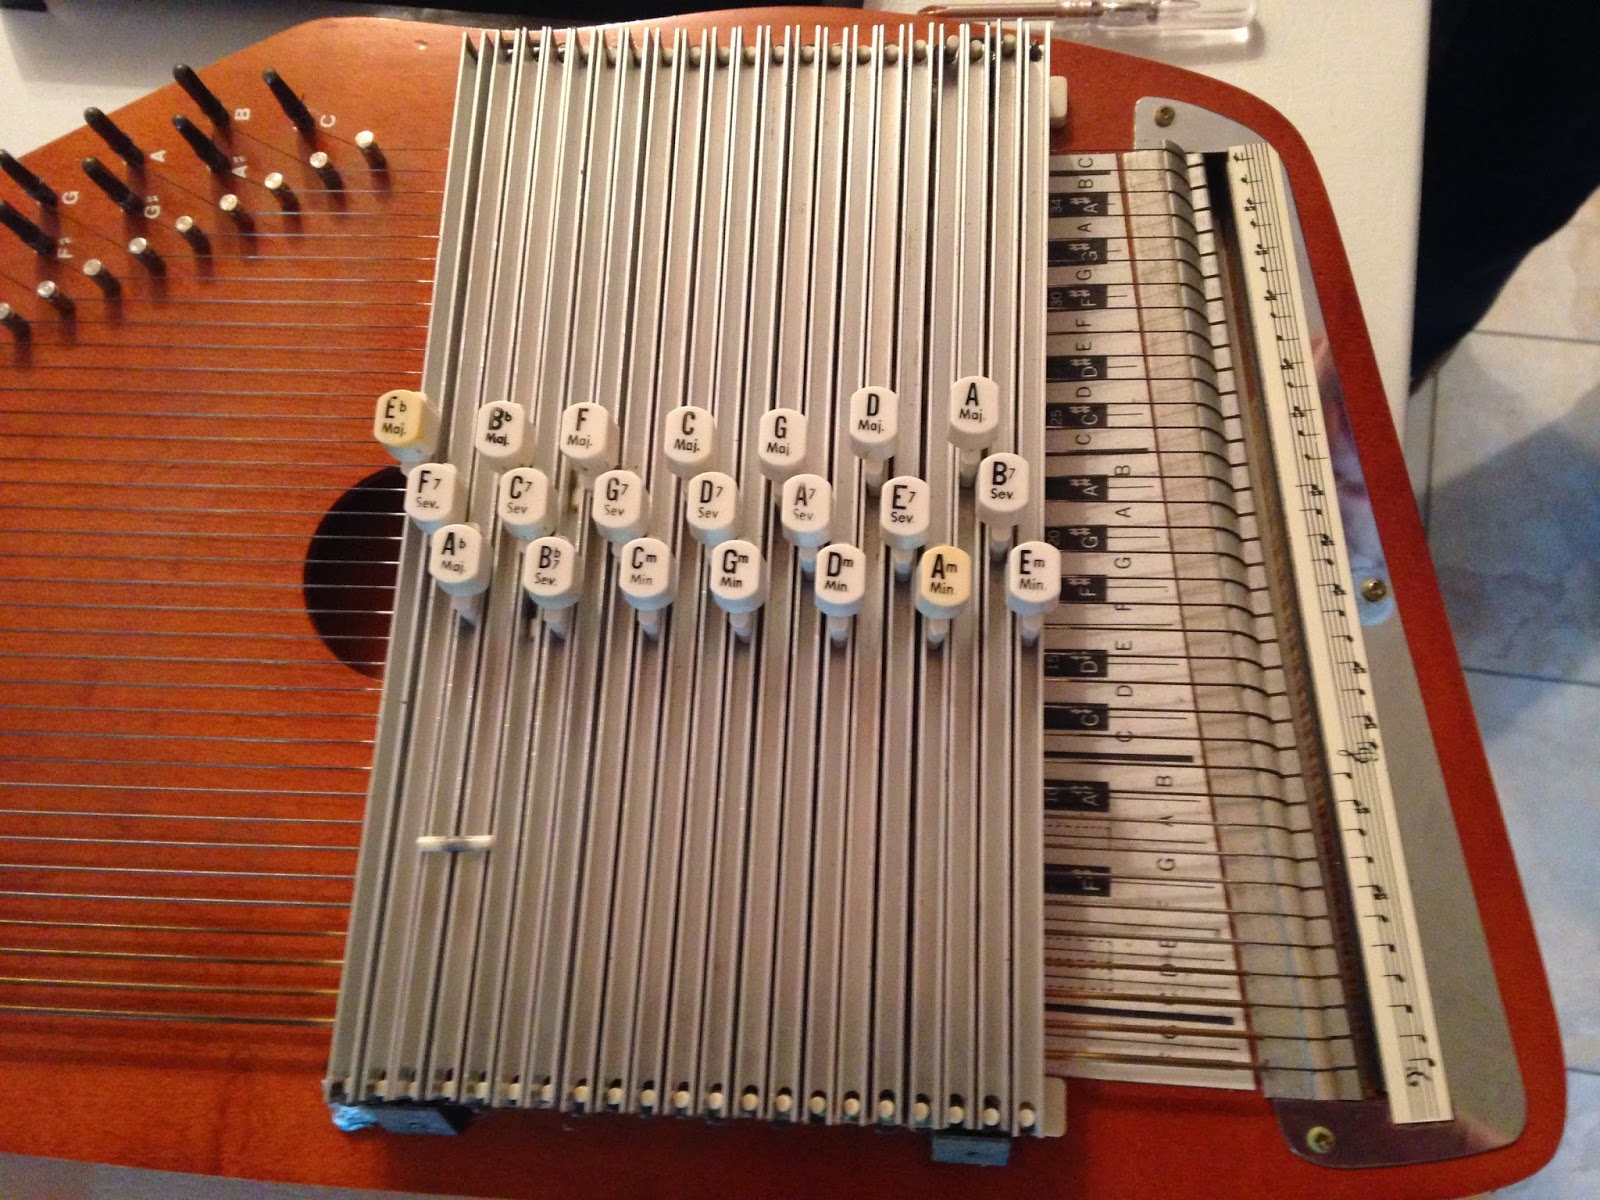
This autoharp has been used off and on since my daughter was in Brownies back around the late 70's. That same daughter recently voiced a desire to someday have this autoharp passed down to her. I mentioned that there were some problems with it and she said "tongue in cheek" that I must fix it up first before passing it along. Well, I really want to be able to use this autoharp for voice lessons that I have been giving two of my grand-daughters.
Sooo I set about searching for information about possible refurbishing this instrument. I found a website called autoharpworks.com with all the pieces and parts I needed to do the job. Oscar Schmidt.com also has some helps on how to replace the felt on the chord bars.
I had already removed the chord bar cover. You can see the broken plastic post lying on top of a couple of the chord bars. I should have taken the pic before removing the cover but didn't think about posting about this until after removing the cover.
After removing the chord bars you can see the broken posts are all on the "comb" on the right or the treble end. Not sure why that is the case. I am assuming the plastic has become brittle because of age and that is the cause so I plan to replace both combs. This is simple because they are just screwed onto the body of the instrument.
This is the under side of the chord bars. The felt silences the strings that you do not want to sound. I wasn't sure at first if I should replace the felt. However in researching a bit I discovered that when the felt has the imprint of the strings imbedded in the felt it is harder to play. You must keep pressing harder to silence the strings. Look closely at the grooves in the felt.
Here is an extra E major chord bar that had never been installed. You can see the difference.
For a really close look at any of these photos, click on the photo and it will enlarge.
This is an enhanced chord bar cover. It has felt linings at strategic places on the underside to keep the chord bars quiet when playing. You should not have extra thumping going on as the bars spring up and down while playing. It cost a little extra and I hope it was worth it.
These are all the new pieces and parts I need to refurbish my Oscar Schmidt 21 chord autoharp. I have never had a string break and they still seem to be in good shape so I am not changing out the old strings.
Next post I will show how I am doing with the refurbishment.


2 comments:
Hi there, I'm doing a similar project on an identical autoharp. Where did you acquire the parts for refurbishing?
Autoharpworks.com is the supplier I used. Check out my last post which shows up first on the blog. That link is listed there along with an Oscar Schmidt link. I was assessing the value overall of the work I did. I am happy with the outcome. Wishing you success!!! If I can be of any help let me know.
Post a Comment