Showing posts with label music. Show all posts

Tuesday, July 15, 2014

Refurbishing my old Autoharp Part 3

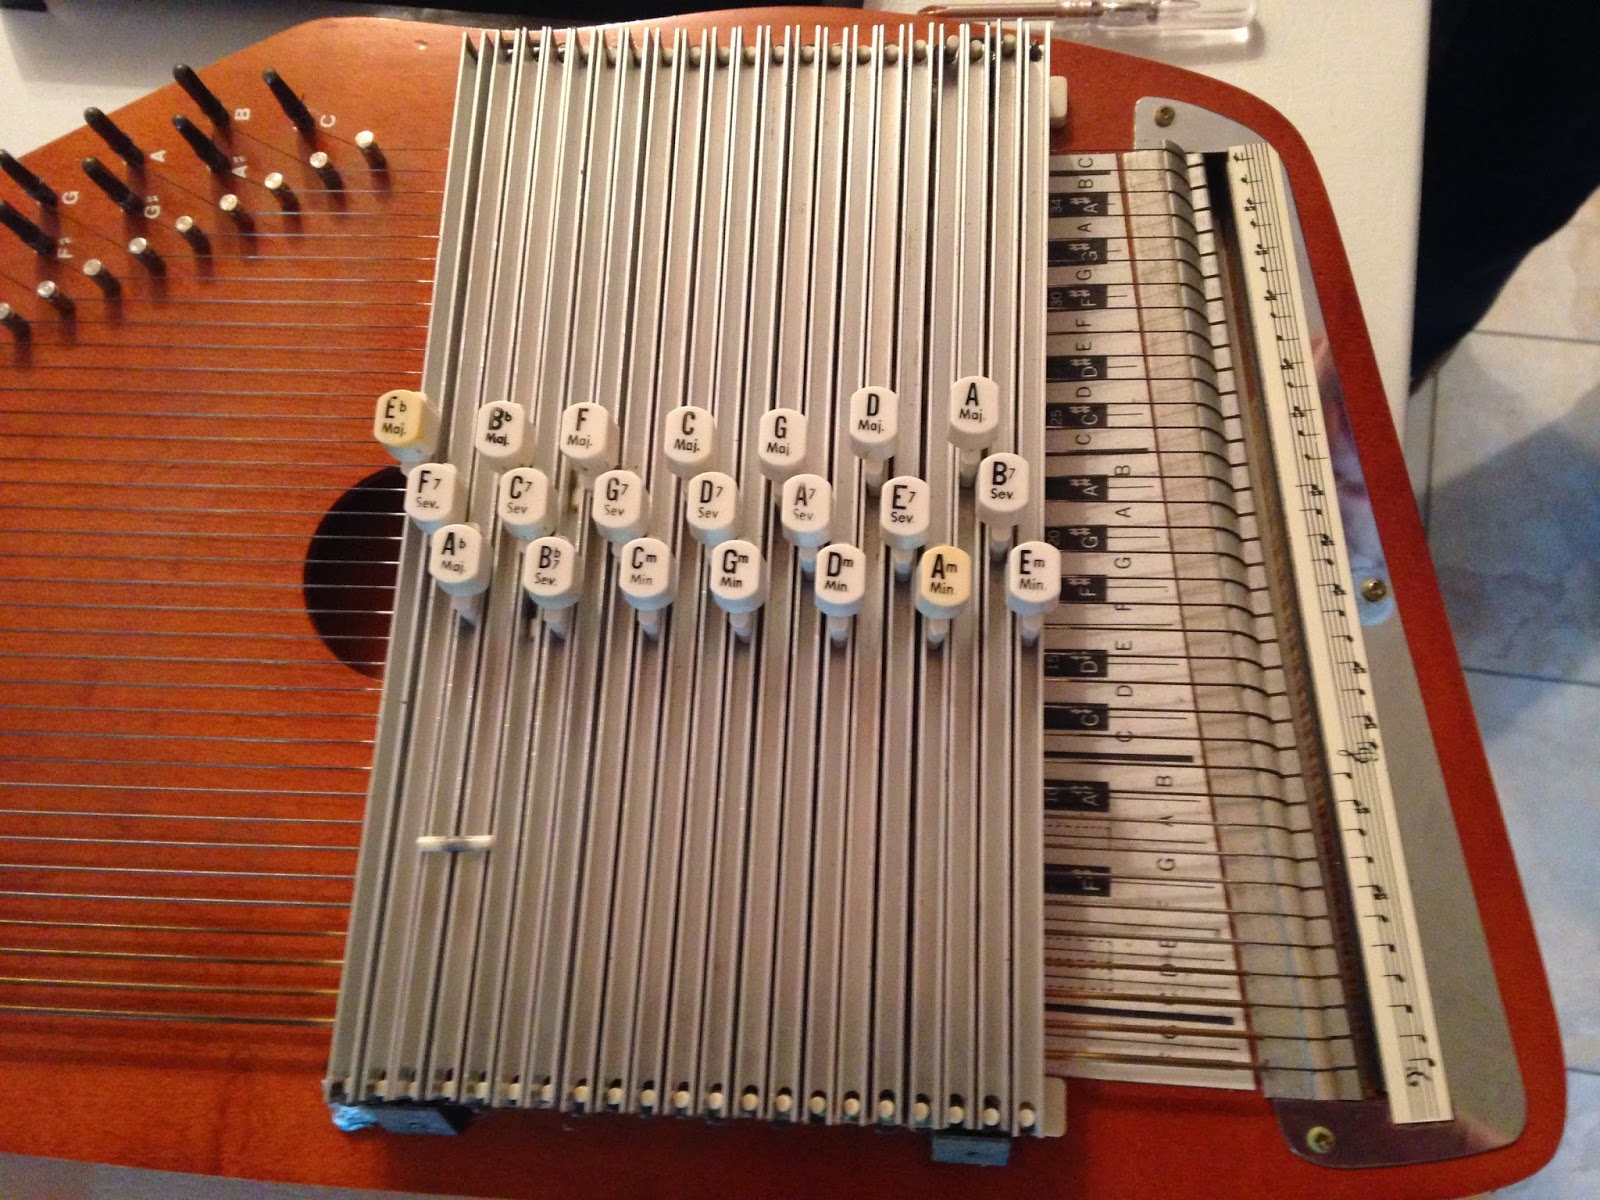
I have been working at removing felt and putting the new felt on chord bars.  I started out tracing the original pattern on paper, but I discovered that it wasn't really necessary if I marked the bar carefully and followed the arrows for the V-cuts in the felt to recreate the gaps needed.  I have 6 done so far and have gained new confidence with each bar.


As I finish each bar I place it back on the correct posts, press the bar down and strum the strings to see if it sounds sour or sweet.  In other words that the right strings are ringing and the right strings are silenced or dampened.  So far so good.


Pressing down the bar and looking at where the strings should be free to vibrate.  Also checking that there is plenty of felt to silence the correct strings.  If the V-cut is too angled(to the obtuse side or greater than 90 degrees) you may allow a string free movement unintentionally.  So far there seems to  be enough felt in each spot to silence the strings properly. A 45 degree cut is about right.  If I make a mistake, I do have enough felt to redo a bar if necessary. 


A closer look at the felt and gaps.

Here is the link to the Oscar Schmidt website "helps and tips on replacing felt"   

Saturday, July 12, 2014

Refurbishing my 21 Chord Oscar Schmidt Autoharp Part 2


As I said before removing and putting the new combs in place would be simple and it was.  The only glitch with this was I tried to use the new screws provided and they were not wood screws and were too thin.  So I used the original screws, no problem. One side done and now the other.


I also decided to install the new metal brackets instead of keeping the old ones.

And now the new springs go in place.


Done


Now was time to start replacing the felt on the chord bars.  I discovered this takes some time so am doing a few a day for a while.  I wanted to be sure I got the gaps placed properly on the particular chord bar I was working on, starting with E flat Major chord the first in the row of chord bars.  I traced the chord bar first on a piece of paper.


Then I took a  fine tipped black marker and marked the spaces on the metal bar. (By the way, these chord bars are covered so it doesn't matter if I mark on them this way.  If your chord bars are visible you will want to use a dry erase type marker so that it will wipe off.)  Just to be sure I remembered which were the gaps, I placed an arrow pointing upward to signal this was the gap.  As you can see I had started to remove the old felt.  If you are very careful sometimes you can get the knife under the adhesive layer under the felt and pull most of it off as a whole.  The key word is "sometimes".  Otherwise pull the felt off and carefully with the knife scrape, roll, peel, the adhesive layer off.  This metal seems to be soft aluminium and will scar easily.  So one must be careful not to dig into the aluminum with the knife.  I used some spotting solvent to get the final bits of adhesive off and clean where the new felt will go.  This must not be an oily solvent or you will not be able to get your new felt to stick.  So if you try this only use the slightest amount of liquid and then dry it off well so there is no residue of solvent left. The new felt comes with an adhesive backing.

Progress


I didn't show the cleaning step.


The felt can be purchased already cut to length to match the chord bar or you can buy a 25 ft length.  I decided on the uncut length so that I would have extra should I need it in the future and the cost is maybe a couple of dollars more.  It seemed like a good idea.
I pulled the paper backing off the adhesive a little at a time to expose the sticky side and slowly place it on the chord bar.


To cut the felt you use a single edged razor blade and just push through the felt (do not saw back and forth)


Finished with applying the felt


Now....it is time to start cutting the gaps from the felt.  It is recommended by Oscar Schmidt "helps and tips" to use a v-shaped cut rather than cutting away the gap as the original had been.  Some how the V cut gives more strength to the felt over all.  The instructions were to angle cut 1/16th of an inch to the outside of the marked edge of the gap angling toward the center of the gap.  Same from the other side.


This is the first chord bar I did.  I placed over my tracing and it is accurate


The V cuts got better as I proceeded and looked more crisp and even.  I have 2 chord bars done as of this moment.  I won't be able to get back to it until next week.  So stay tuned and check back next week for Part 3


Friday, July 11, 2014

Refurbishing my 21 Chord Oscar Schmidt Autoharp

Back in May, I was using my autoharp to help my sixteen year old grand-daughter in a Shakespearian play.  The play was "Much Ado About Nothing".  She sang two songs in the play and I accompanied her with the autoharp.  There were 3 performances on successive nights.  After the last performance I noticed a plastic piece rolling around in my case.  Upon closer examination I discovered that a number of plastic posts on which a spring sets and the chord bar rides upon were broken loose or missing altogether.  

This autoharp has been used off and on since my daughter was in Brownies back around the late 70's.  That same daughter recently voiced a desire  to someday have this autoharp passed down to her.  I mentioned that there were some problems with it and she said "tongue in cheek" that I must fix it up first before passing it along.  Well, I really want to be able to use this autoharp for voice lessons that I have been giving two of my grand-daughters.

Sooo I set about searching for information about possible refurbishing this instrument.  I found a website called autoharpworks.com  with all the pieces and parts I needed to do the job.  Oscar Schmidt.com also has some helps on how to replace the felt on the chord bars.  


I had already removed the chord bar cover.  You can see the broken plastic post lying on top of a couple of the chord bars.  I should have taken the pic before removing the cover but didn't think about posting about this until after removing the cover.  

After removing the chord bars you can see the broken posts are all on the "comb" on the right or the treble end.  Not sure why that is the case.  I am assuming the plastic has become brittle because of age and that is the cause so I plan to replace both combs.  This is simple because they are just screwed onto the body of the instrument.


This is the under side of the chord bars.  The felt silences the strings that you do not want to sound.  I wasn't sure at first if I should replace the felt.  However in researching a bit I discovered that when the felt has the imprint of the strings imbedded in the felt it is harder to play.  You must keep pressing harder to silence the strings.  Look closely at the grooves in the felt.


Here is an extra E major chord bar that had never been installed.  You can see the difference.
For a really close look at any of these photos, click on the photo and it will enlarge.


This is an enhanced chord bar cover.  It has felt linings at strategic places on the underside to keep the chord bars quiet when playing.  You should not have extra thumping going on as the bars spring up and down while playing.  It cost a little extra and I hope it was worth it.


These are all the new pieces and parts I need to refurbish my Oscar Schmidt 21 chord autoharp.  I have never had a string break and they still seem to be in good shape so I am not changing out the old strings.

Next post I will show how I am doing with the refurbishment.

Saturday, October 17, 2009

Music is a wonderful thing

I am starting a new blog spot involving music. This will be under construction for a while till I get all the ways I want to organize this figured out. In the meantime Stand By :-)